
Product Description
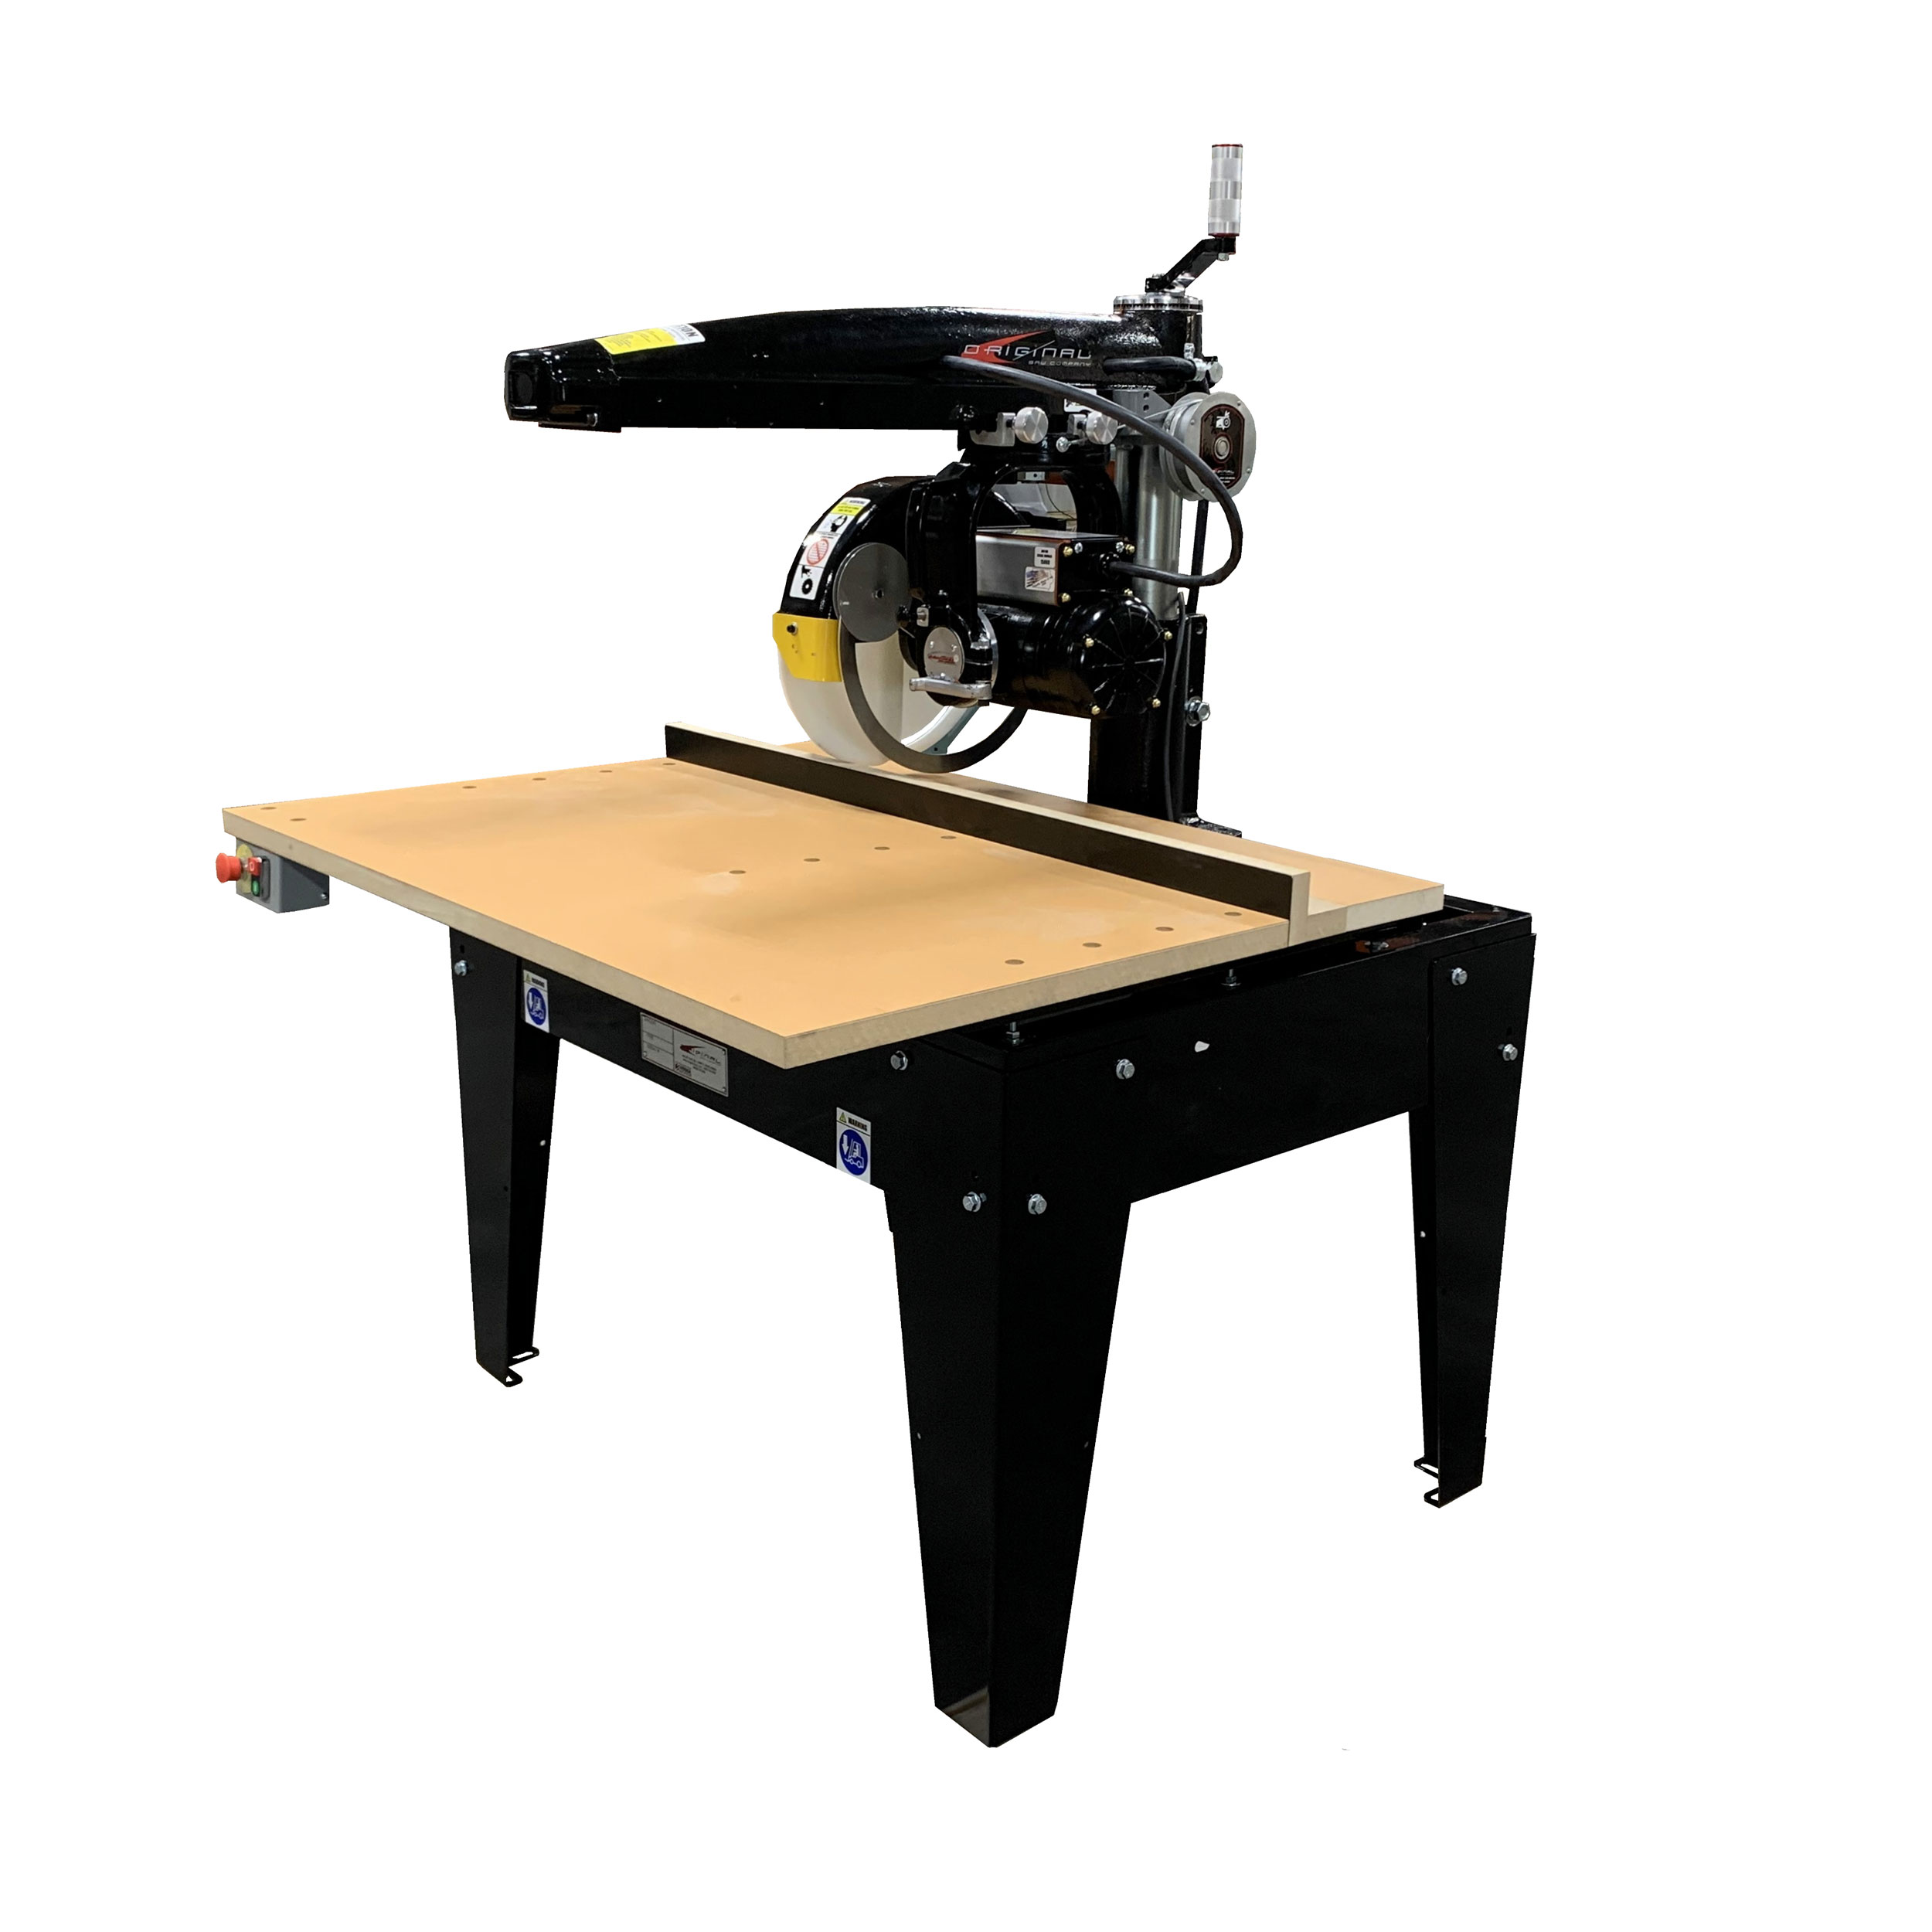
Perform straight cuts, bevel cuts, miter cuts, compound bevels, and swivel to a rip position to precisely cut down panels all with this one Heavy Duty Series radial arm saw, model 3531-01. The versatile saw by the Original Saw Company is well suited for use in custom cabinet shops, school tech departments, lumber yards and home centers, manufacturing plants, or the serious wood shop. From its flat bottom induction motor to its heavy cast iron arm and throughout its heavy gauge steel powder coated frame and legs to its oversized table top, Original Saw’s radial arm saws say quality, repeatability, accuracy, and value. Precision carriage riding on 8 wide-contact double-row ball bearings, providing a very smooth vibrations free travel. These machines have proven themselves in thousands of manufacturing companies throughout the world.Order any Original Saw22″Extension Table to extend the versatility of your Radial Arm Saw. Features 3HP, 1Ph, 208/230V motor 14″ Blade Automatic blade braking system Carriage return spring Adjustable crosscut stop 16″ crosscut Precision carriage riding on four tight-tolerance convex bearings mounted horizontally Oversized MDF table top included Base column Lock E-stop Powder coated heavy gauge steel frame and legs Standard worktable height: 33″ Arbor nut and precision ground arbor collars Wrench kit (includes allen arbor wrench, flat arbor wrench, and misc. allen wrenches) HDPE lower guard that provides full coverage Adjustable tension carriage return reel Dimensions: 46″ Depth and 41″ Height Accessible start/stop button on the left, front edge of table Proudly Manufactured in the USA Plug not include, must be hard wired direct to electrical source Connecting Electrical Current The motor is properly connected to the magnetic switch at the factory for operation on the electrical voltage specified on the tag attached to the guard stud. Make sure incoming voltage from your power supply conforms to the voltage specified on the tag. Remove the magnetic switch cover and insert power supply cable through the dust proof fitting. Connect wires to L1, L2 and L3 for 3PH; L1 and L2 for 1PH. (See manual, page 14, left photo). Do not attach power to the transformer. Attach the ground wire to the ground lug inside the enclosure. Wiring must conform to the National Electrical Code and any applicable local codes.
For current pricing, click “Get Details”

